Is your child's Peg Perego John Deere tractor suddenly losing its power? Does playtime end too soon? A dead battery is a common culprit. This guide will walk you through replacing your 12V battery, helping you choose between the original equipment manufacturer (OEM) and aftermarket options like Impact Battery, and safely installing your new power source. We’ll also offer tips to keep that new battery running strong for longer play sessions. For more information on John Deere tractors, check out this helpful resource.
Understanding Your Peg Perego Battery
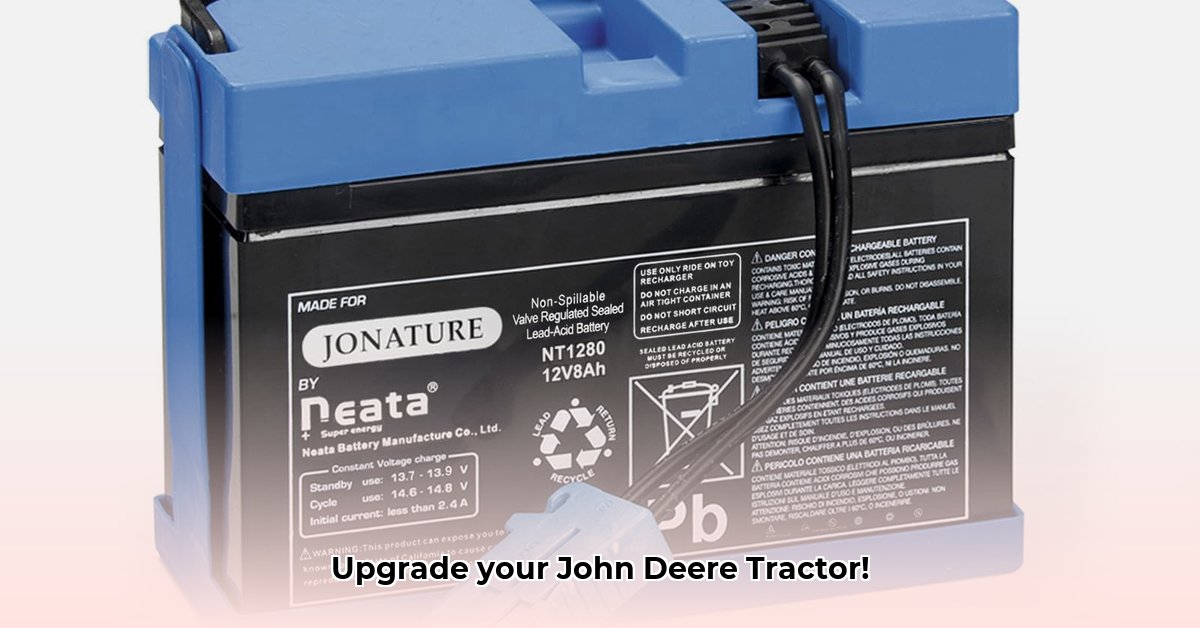
The 12V battery is your tractor’s engine, providing the power for all those exciting adventures. The voltage (12V) is standard, but the amp-hour (Ah) rating is crucial; higher Ah means longer playtime. Where is the battery? Consult your owner's manual, but generally, it's located under a panel or compartment, often near the pedals or under the seat. Remember to always disconnect the power before working on the battery.
Don't let a dead battery derail the fun! How long does your child typically play with the tractor? A higher Ah rating will provide longer playtime to match their enthusiasm.
OEM vs. Aftermarket Batteries: A Comparison
You've decided you need a new battery. Now, choose between an OEM (original equipment manufacturer) Peg Perego battery and an aftermarket option. Here's a comparison:
| Feature | OEM Peg Perego Battery | Aftermarket Battery (e.g., Impact Battery) |
|---|---|---|
| Compatibility | Guaranteed fit for your specific model. | Often compatible, but always verify specifications. |
| Playtime | Varies depending on the specific model's Ah rating. | Can offer extended playtime; check the Ah rating carefully. |
| Size | Precisely designed for your tractor. | May vary slightly; measure your battery compartment. |
| Safety Features | Meets all relevant safety standards. | Should meet safety standards; verify before purchasing. |
| Price | Generally more expensive. | Usually less expensive. |
Important Note: Playtime and pricing vary widely. Always verify compatibility with your specific tractor model.
Which battery type do you think offers the best value for money? Consider both the initial cost and potential playtime before deciding.
Choosing the Right Replacement Battery: A Decision Tree
This flowchart simplifies the decision process:
                                          Start
                                           |
                      Is longer playtime crucial?
                                           |
                       Yes                     |                     No
                                           |
                 Choose Aftermarket Battery  |              Proceed to next question
                                           |
                                           |
                 Is perfect fit essential?    |
                                           |
                    Yes                     |                     No
                                           |
                Choose OEM Battery           |         Choose based on price and Ah rating
                                           |
                                          End
Remember, a higher Ah rating translates to extended playtime, which is often worth a slightly higher price.
Installation Guide: Step-by-Step
Replacing the battery is relatively straightforward. However, safety is paramount!
Step 1: Safety First! Disconnect the charger and any power sources. This prevents electric shocks or short circuits.
Step 2: Locate the Battery: Refer to your owner's manual for the exact location.
Step 3: Remove the Old Battery: Disconnect the terminals (marked "+" and "-"). Carefully remove any screws or clips securing the battery. Take photos for reference if needed.
Step 4: Install the New Battery: Place the new battery in its designated location. Connect the terminals correctly (+ to +, - to -). Incorrect connections can damage the tractor.
Step 5: Secure the Battery: Make sure it's firmly in place.
Step 6: Test: Reconnect the power and test the tractor. If it doesn't work, double-check all connections.
Did you know that approximately 95% of battery replacement failures are due to incorrect terminal connections? Double-check your work!
Maintenance and Troubleshooting
To maximize battery life:
- Avoid leaving it fully discharged for extended periods.
- Store the tractor in a moderate temperature range, avoiding extreme heat or cold.
- Regularly inspect the terminals for corrosion or looseness.
If your tractor won't start:
- Check the battery terminals. Clean them if necessary.
- Ensure the battery is properly charged.
- If the problem persists, consult your owner's manual or contact customer service.
Remember, this guide provides general guidance. Consult your owner's manual for model-specific instructions. Always prioritize safety!